

A detailed estimate can still leave you blind once the job begins. You may separate foundation, framing, roofing, finishes, and subs carefully when pricing the work, only to have those categories disappear when labor, purchases, and invoices are recorded.
By closeout, you can see that the job ran over, but not which part of the estimate failed or what needs to change on the next bid. The problem is not always the estimate itself. It is the broken connection between the estimate and the live job.
Cost codes preserve that connection by keeping each cost tied to the category it came from. A useful code set is detailed enough to show where a job is drifting and lean enough for the team to apply consistently. This guide shows how to choose, structure, and use one for residential work.
It also shows where software fits: keeping estimated and actual costs aligned by code as the job progresses. That becomes harder to manage by hand once you’re off the tools and other people are entering costs. You’ll also see how Buildxact keeps that comparison current as costs come in.
Key Takeaways
- A cost code ties an estimated amount to the labor, material, equipment, or subcontractor costs that follow it, so the estimate’s detail survives into the live job.
- Two-bucket tracking may show that a job ran over, but not which category caused it.
- The right level of detail is the level your business uses consistently on every job. Add more only when it changes a purchasing, staffing, or pricing decision.
- Codes only work when the same structure carries from estimate to actuals. A category coded differently across jobs can’t inform the next estimate.
- Software that compares the estimate to actuals by code lets you catch a category running over while still controlling the remaining purchases.
What Are Construction Cost Codes?
A construction cost code is a short label that ties a category of work to the money spent on it: the labor, materials, equipment, and subcontractor costs for that part of the job. It’s how the detail in your estimate stays attached to the detail in your actual spend, so you can compare the two later.
A cost code can also include a cost-type suffix that separates the kinds of spend within a category, for example, material from labor, so an overrun points somewhere specific.
The four common ones are material (M), labor (L), equipment (E), and subcontractor (S). A framing code split into framing-M and framing-L tells you whether an overrun came from lumber prices or from crew hours.
A cost code isn’t the same as a chart-of-accounts category, which classifies money for your books, or a project phase, which is about scheduling. A cost code is built to compare the estimates against the actuals at the level of the work.
Why Cost Codes Must Follow the Job From Estimate to Actuals
Cost codes only earn their keep when the same structure carries from the estimate into the live job. That is what lets you compare the amount budgeted for each category with the costs that land against it while you still have time to respond.
Without that structure, the detail starts disappearing as soon as work begins. The dealer’s statement may not arrive until the month-end, and when it does, it can be staggering.
By then, the material is in the wall, and the crew has moved on. Labor sits on a separate timesheet, while fasteners, trim, and other small purchases get grouped under “materials” because coding each one felt like overkill at the time.
When those numbers are finally reconciled, the materials total may show the job ran over, but it won’t show whether the problem was framing lumber, roofing, trim, or purchases missing from the estimate.
That is why effective cost control in construction depends on keeping each cost attached to the category it came from instead of trying to reconstruct the job at closeout.
You do not find the problem during framing, when you could still act on it. Instead, you find it at the end, when there is nothing left to protect. Cost codes move that visibility forward, showing which category is drifting while it can still be corrected.
How Much Detail Does Your Business Need?
Every additional code should earn its place by changing how your team estimates, assigns, approves, investigates, or prices the work. If the distinction will not change a decision, keep the categories together. Use the criteria below to tell which side you’re on and when growth has pushed you across to the second.
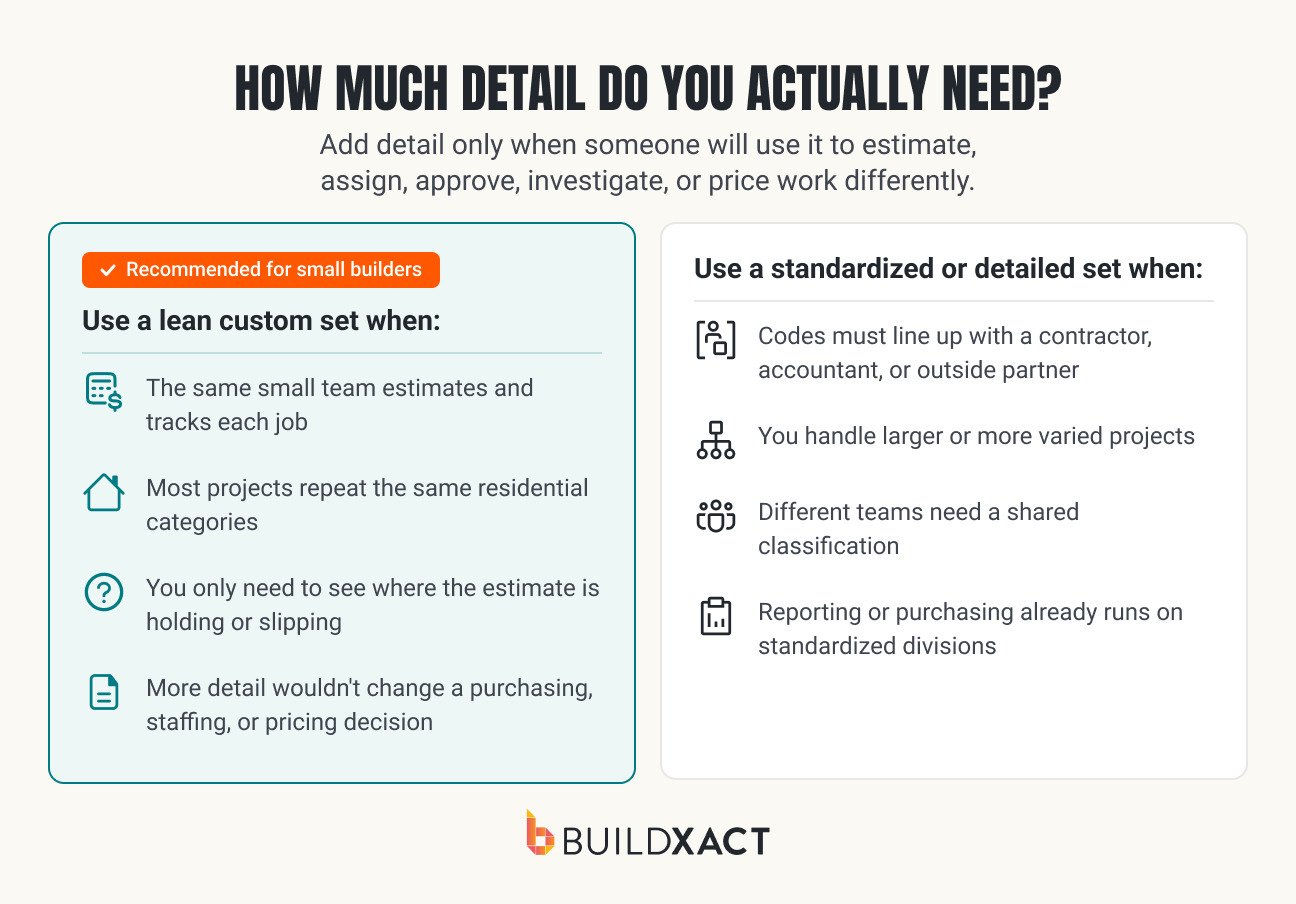
Use a lean custom structure when:
- The same small team estimates and tracks each job.
- Most projects repeat the same residential categories.
- Reporting only needs to show where the estimate is holding or slipping.
Use a standardized or more detailed structure when:
- Codes have to line up with a general contractor, accountant, estimator, or outside partner.
- You handle larger or more varied projects.
- Different teams need one shared classification.
- Reporting, purchasing, or accounting already runs on standardized divisions.
For a small residential team, a lean setup is usually the better place to start. You can add codes when a recurring need appears, which is easier than untangling an oversized set later. Too many codes push the crew toward whatever is closest or “Misc.” while too few leave everything from concrete to copper under “materials.” The right set is the simplest one your team can use consistently without losing detail that informs a decision.
As you take on more jobs or more crews, that line moves. The prompt to add a code is a new decision you can’t make with the codes you have: a phase you now sub out, a second crew whose hours you need to see separately, a category that keeps surprising you at closeout. Add the code when the decision appears, not before.
Should You Use MasterFormat or a Custom Residential Structure?
You do not have to choose between inventing your own codes and adopting an industry standard in full. The better question is how much shared structure your work requires.
CSI MasterFormat organizes construction specifications into numbered divisions. Contractors sometimes use those divisions as the basis for cost codes, but MasterFormat itself is not a cost-code template.
The NAHB Chart of Accounts is built for home builders and includes hundreds of accounts and codes, with lighter versions for small-volume builders and remodelers.
If the same small team estimates and tracks every job, a full MasterFormat is often the encyclopedia when a one-page list would do. Borrow the categories that match your work and leave the rest out. A shorter set is easier to apply consistently and can grow when a recurring need justifies another code.
A standard earns its place when other people need to work from the same structure. If your codes must align with an accountant, general contractor, reporting system, public project, or a database such as RSMeans, the shared language can save more work than it creates. The table below shows the CSI divisions most relevant to residential work.
That’s usually a growth threshold, not a starting condition. The builder who needs it is the one taking on bigger or bonded jobs, bringing on an outside accountant, or bidding work that dictates the format at the point where your codes stop being just yours.
| CSI Division | Covers | Typical residential relevance |
| 02 – Existing Conditions | Site prep, demolition | High (lot clearing, teardown) |
| 03 – Concrete | Foundations, slabs, footings | High |
| 06 – Wood, Plastics & Composites | Framing, carpentry, trim | High |
| 07 – Thermal & Moisture Protection | Roofing, siding, insulation | High |
| 08 – Openings | Windows, exterior doors | High |
| 09 – Finishes | Drywall, paint, flooring | High |
| 22 – Plumbing | Supply, drainage, fixtures | High (often sub) |
| 23 – HVAC | Heating, cooling, ventilation | High (often sub) |
| 26 – Electrical | Wiring, panels, fixtures | High (often sub) |
Table 1: CSI MasterFormat divisions most relevant to residential work. Borrow from these as a basis for coding, not as a required template.
How to Structure an Individual Cost Code
A single cost code is built from three parts: a category (or borrowed division), an optional task within it, and a cost type. Residential builders commonly number categories by phase, in the order a house is actually built, so the codes follow the work sequence and line up with the drawing schedule. Read left to right, one code tells you what part of the job the money belongs to and what kind of money it is.
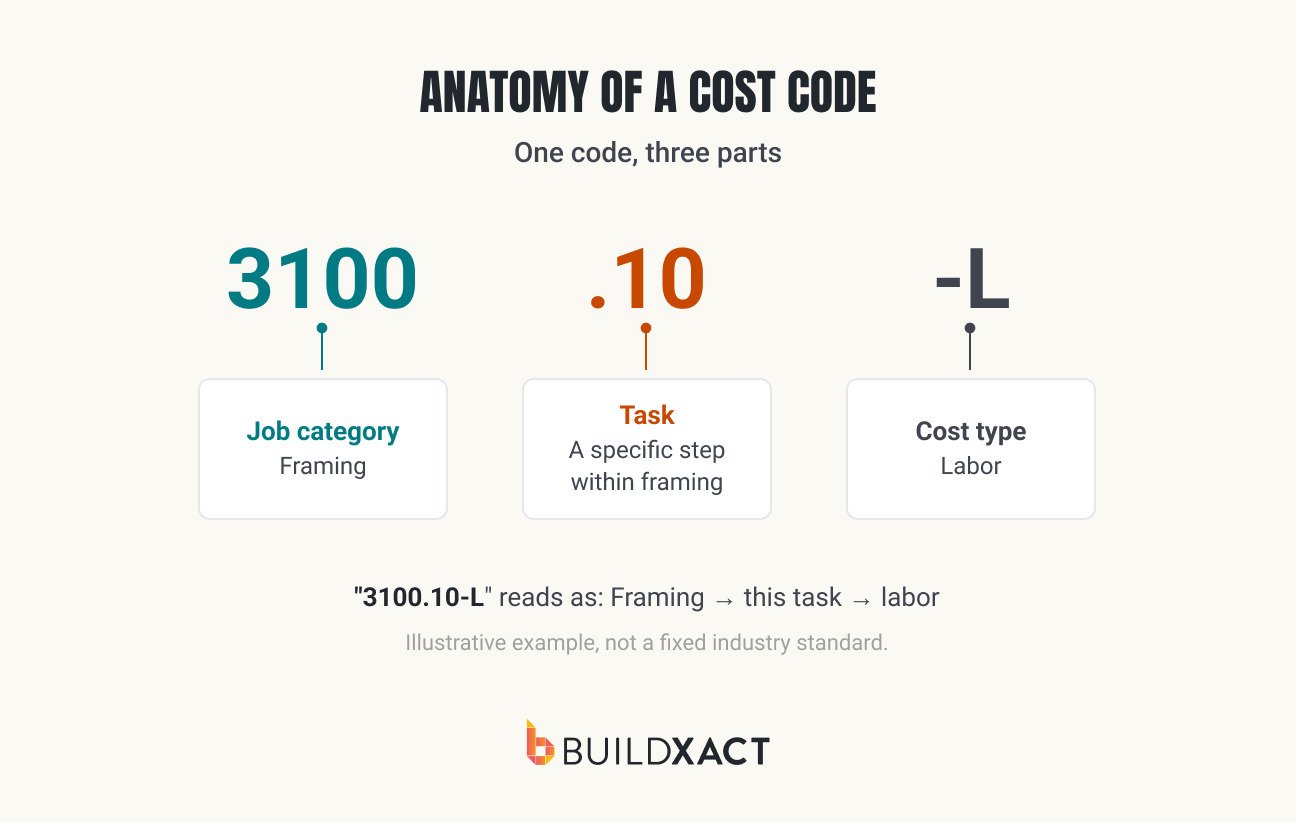
Here’s an illustrative framing code, 30-100-M, walked through its parts:
- 30 is the category: framing.
- 100 is the task inside that category: exterior wall framing. This middle digit is optional. Add it only when you need to track wall framing separately from other framing work.
- M is the cost type: materials. Swap it for L and the same code, 30-100-L, captures the labor on that same framing.
On a lean setup, you might code framing simply as 30-M and 30-L and stop there. The material-and-labor split isn’t only for diagnosis: QuickBooks, for example, can’t tie one code to both a material and a labor account, so separate material and labor codes help each cost land cleanly in your books. On a job where wall framing and roof framing routinely drift apart, adding the task digit earns its place.
How to Build a Code Set the Team Will Actually Use
When you’re the only one on every site, the code set lives in your head and stays consistent because you apply it. That stops working the moment you grow. Other people start coding costs on jobs you’re not standing on, and a set that only held together because you were there falls apart.
A code set that scales is one that the team applies the same way without you in the room. Start with the categories that recur across your jobs, add only the details your team can apply consistently, and use these five steps to turn that recurring work into a stable set:
- List the recurring job categories you build: site prep, foundation, framing, roofing, and so on.
- Assign each a short number, leaving gaps for codes you’ll add later.
- Add only the cost-type suffixes you’ll use consistently: material and labor, plus subcontractor where it matters.
- Standardize the list and reuse it on every job, unchanged.
- Review it once a year and retire codes you never touch. When you do change one, don’t rename or delete a code that’s already in use. That breaks your history and any saved templates built on it. Set the old one inactive and add a new one instead.
Listing the categories is the easy part. The harder part is keeping the code set consistent once several people start using it. That requires clear answers to the day-to-day questions that surface on live jobs, but most guides leave unanswered:
- Who assigns the code when a purchase is made, the person buying or the person reconciling later?
- What happens when one invoice covers several categories, and who splits it?
- How do you tell labor and subcontractor costs apart when a sub also supplies materials?
- When does a new code get added, and who’s allowed to add one?
- Who fixes a miscoded cost when it’s caught, and when?
- What do you do with a category nobody ends up using?
The usual break is an estimator coding one way and whoever tracks the costs coding another; the moment the two lists drift apart, you can’t line up the estimate against actuals at all.
Keep each code’s name identical to the estimate line it came from: if the estimate says “exterior paint” and the code reads “coatings, exterior application,” someone’s translating in their head, and translation is where the miscodes start. Leave all of this open and each person codes to their own logic, which is how “roofing” ends up meaning three different things across three builds.
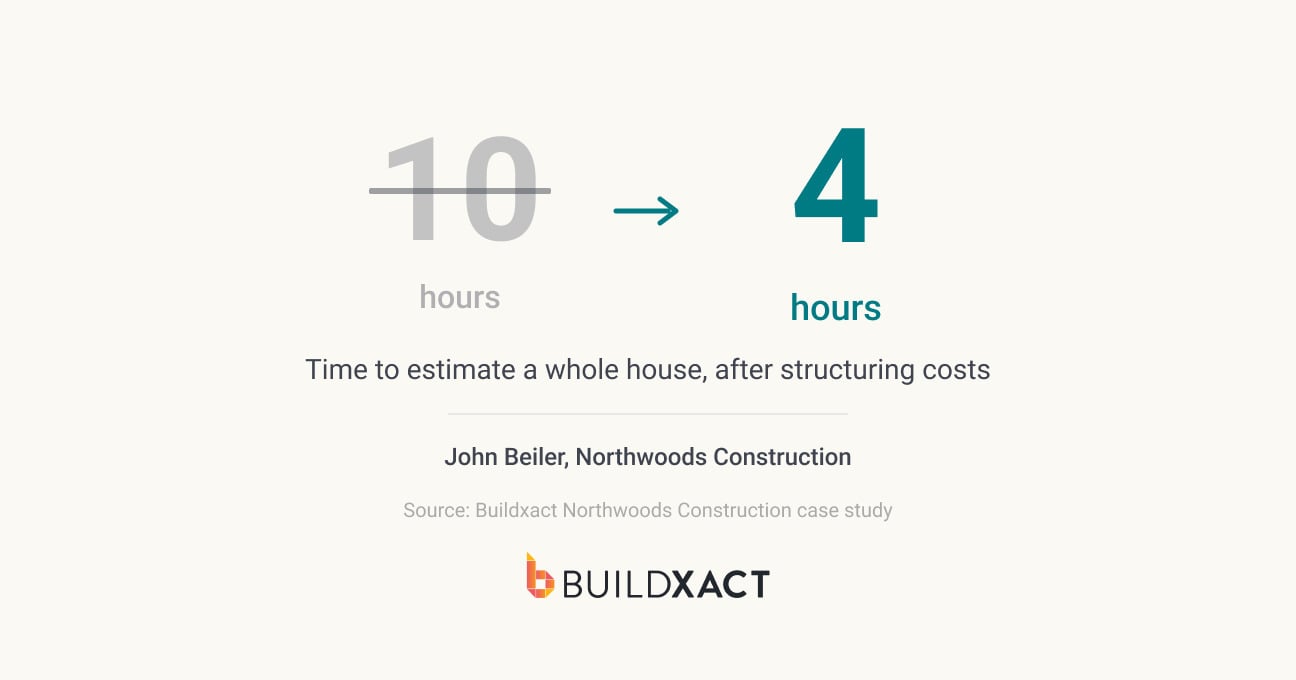
Buildxact’s Northwoods Construction case study shows the time a reusable estimating structure can save: John Beiler of Northwoods Construction in upper Maine cut a whole-house estimate from ten hours to four after moving to structured assemblies in Buildxact instead of rebuilding the takeoff each time. Those assemblies depend on a stable code set underneath them, so a set that keeps shifting quietly breaks the reusable estimating templates built on it.
Residential Cost Code Starter List
Here’s a lean starter set for a typical residential build. This is an illustrative starting point, not a standard residential code list. It uses the phase-based pattern described above, so the categories follow the build sequence.
If you always subcontract a trade and don’t purchase its materials separately, the subcontractor (S) type may be enough. Copy it, rename the categories to match how you actually build, and you’ve got a working structure without having to assemble one from scratch.
If you have already broken work down for a bill of quantities, those same line items are a good starting point for your categories.
| Category | Code | Cost types |
| Site prep | 10 | 10-M, 10-L, 10-S |
| Foundation | 20 | 20-M, 20-L, 20-S |
| Framing | 30 | 30-M, 30-L |
| Roofing | 40 | 40-M, 40-S |
| Siding/exterior | 50 | 50-M, 50-L |
| Windows & doors | 60 | 60-M, 60-L |
| Plumbing | 70 | 70-S |
| Electrical | 80 | 80-S |
| HVAC | 90 | 90-S |
| Insulation | 100 | 100-M, 100-S |
| Drywall | 110 | 110-M, 110-S |
| Interior finishes | 120 | 120-M, 120-L |
How to Review the Estimate Versus Actuals During the Job
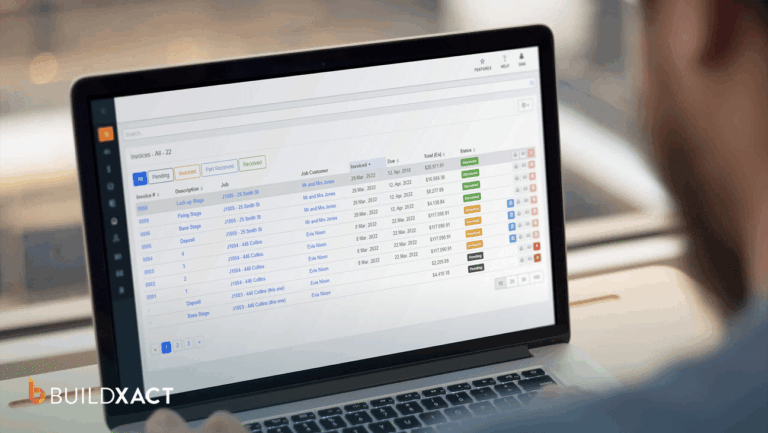
Reviewing each code while the job is live by comparing your budget against what you’ve spent so far is where cost-tracking software earns its place. Doing it by hand means chasing receipts and timesheets after the fact. Buildxact keeps each cost tied to its code as the work happens, so the comparison stays current and a drifting category shows up early enough to still adjust the remaining work.
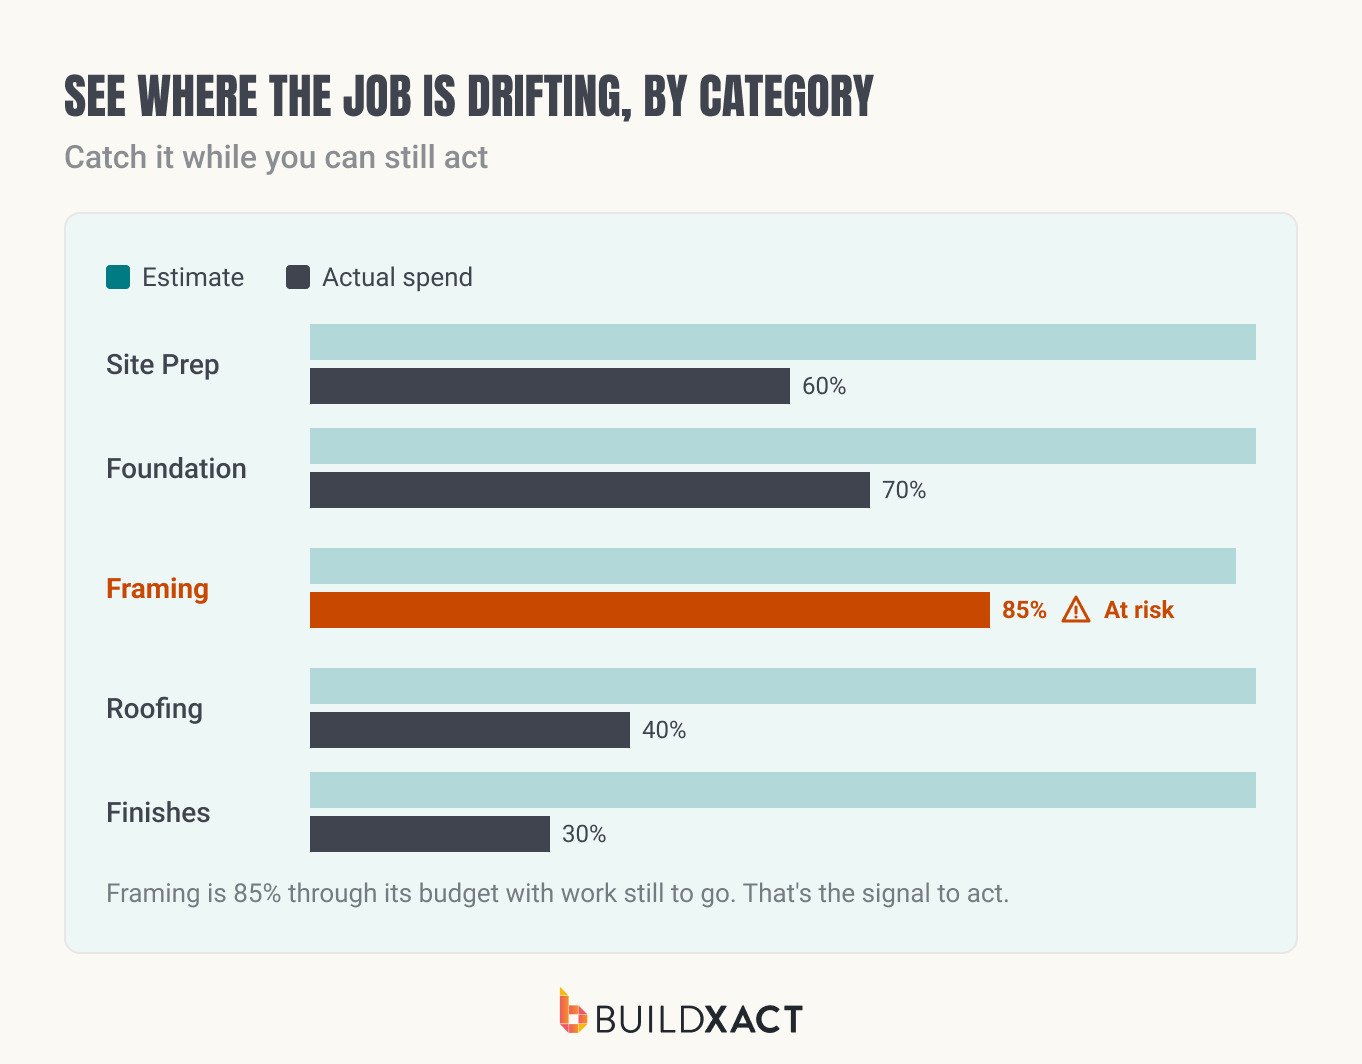
Start with labor because hours by phase often provide the earliest warning. If the framing crew has used 85% of its budgeted hours with a substantial amount of framing left, check what remains, compare the crew’s progress with the plan, and adjust before the phase runs further over.
Material costs require a different check because they often arrive through a stream of receipts and small purchases. Construction cost-tracking software keeps those costs allocated to the right job and code, so the estimate-to-actuals comparison stays current as the work progresses.
That was the blind spot for Brian Yambor of Precision Homes when he was tracking jobs in spreadsheets. Once he started using Buildxact, material receipts flowed into the right jobs and cost codes, and he could see the smaller purchases he had previously written off as no big deal. In his words, the change helped him “track some of those smaller pieces to better manage our profit margin.”
Finally, check categories that appear unusually far under budget. That does not always mean you saved money. An invoice may not have arrived yet, or a cost may have landed against the wrong phase. Confirm that the expected costs have been captured and coded correctly before treating the variance as a saving.
Use Completed Jobs to Improve the Next Estimate
Cost codes are valuable because they preserve the estimate’s structure after the job begins.
When labor, materials, purchase orders, and invoices are recorded against the same categories you estimated, you can see which part of the job is drifting instead of discovering at closeout that the whole job cost more than planned.
That visibility also improves the next bid. Instead of relying on memory or one total from the previous job, you can see where framing labor ran long, which material allowance missed the mark, or which subcontractor cost needs to change. Each completed job gives you a better cost history, but only if the team uses the codes consistently.
That is why the code set itself is only part of the system. You also need clear rules for what belongs where, enough detail to support real decisions, and a regular estimate-versus-actual review while there is still time to act. A spreadsheet can show that comparison, but keeping it current gets harder once several people are logging labor, purchasing materials, and entering invoices.
Buildxact ties each cost to the relevant code as it is recorded, giving you a current view of where the job is tracking against the estimate. Book a demo to see how Buildxact connects your cost codes to live job costs and carries what you learn into the next estimate.